Part 1 : Custom Drapery
IN THIS LESSON
How do you design and install drapery for full blackout?
True blackout is not achieved by fabric alone. The fabric is only one layer of the solution — the difference between a room that's "pretty dark" and one that achieves genuine, cinema-quality blackout comes down to how the drapery system is designed and installed as a whole. Every gap, edge, and seam is a potential light path, and good blackout design closes each one deliberately.

Overlap at the leading edge of drapes
Where two panels meet at the center, a standard overlap leaves a thin vertical seam that admits a strip of light. There are two ways to address this depending on your heading style:
For pinch pleat and other traditional headings, specify an extended overlap — typically 4 to 6 inches wider than standard — so the panels cross generously at center when closed.
For ripplefold:
Overlap Master: Specify an extended overlap. Keep in mind that the stacking of the drapery when open will therefore be wider.
Butt Master: The ripple wave doesn't naturally allow a deep overlap at the leading edge when you specify butt master. The butt master carrier is a specialized center carrier where the two leading edges meet precisely. To seal this seam, we can add a magnetic closure to the butt master — a small but highly effective detail where magnets embedded in the leading edges of both panels pull together when closed, eliminating the center gap.
Side returns
Returns are the portion of the drapery that wraps back toward the wall at each end of the track. Without a return, there is an open gap between the edge of the panel and the wall where light pours through — particularly noticeable with bright exterior light.
For blackout applications, returns should be a minimum of 4 inches, and ideally 6 inches or more if combined with a sheer drape or roller shade. The return fabric should be fabricated to lie flat against the wall or window frame, with no gap between the panel and the surface.
To reduce the light gap even further, the returns can be pinned on the wall along the fabric. Returns can also be attached to the wall with velcro.
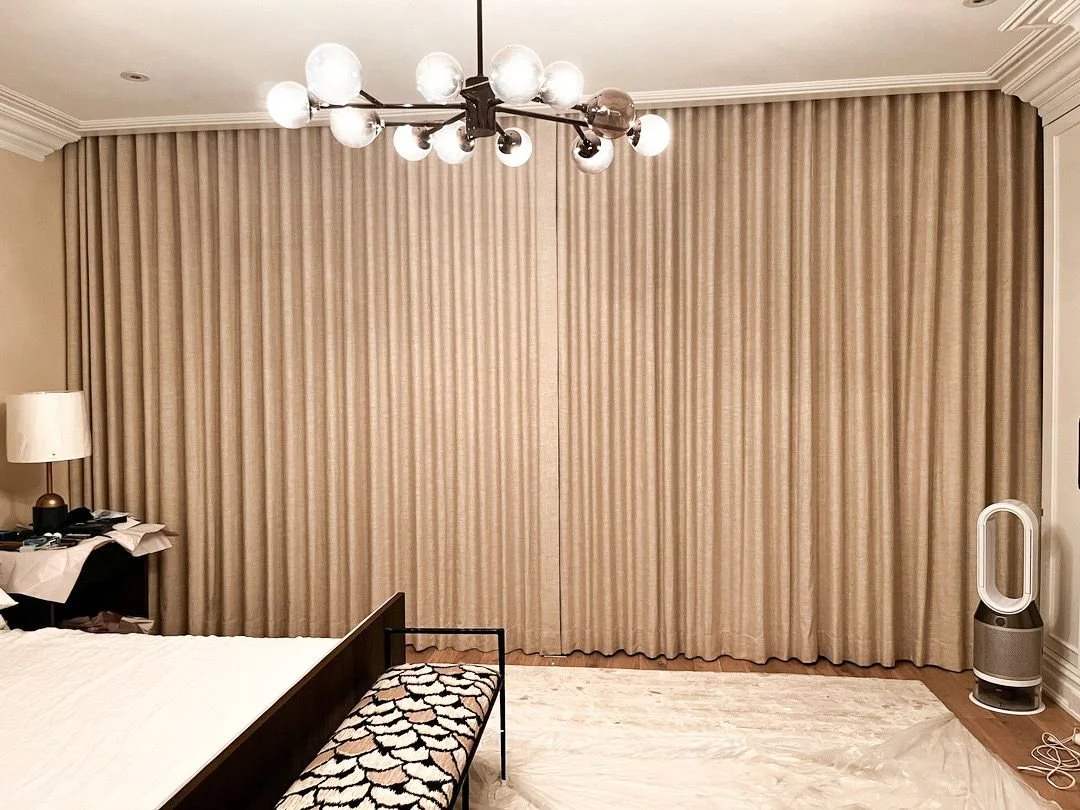
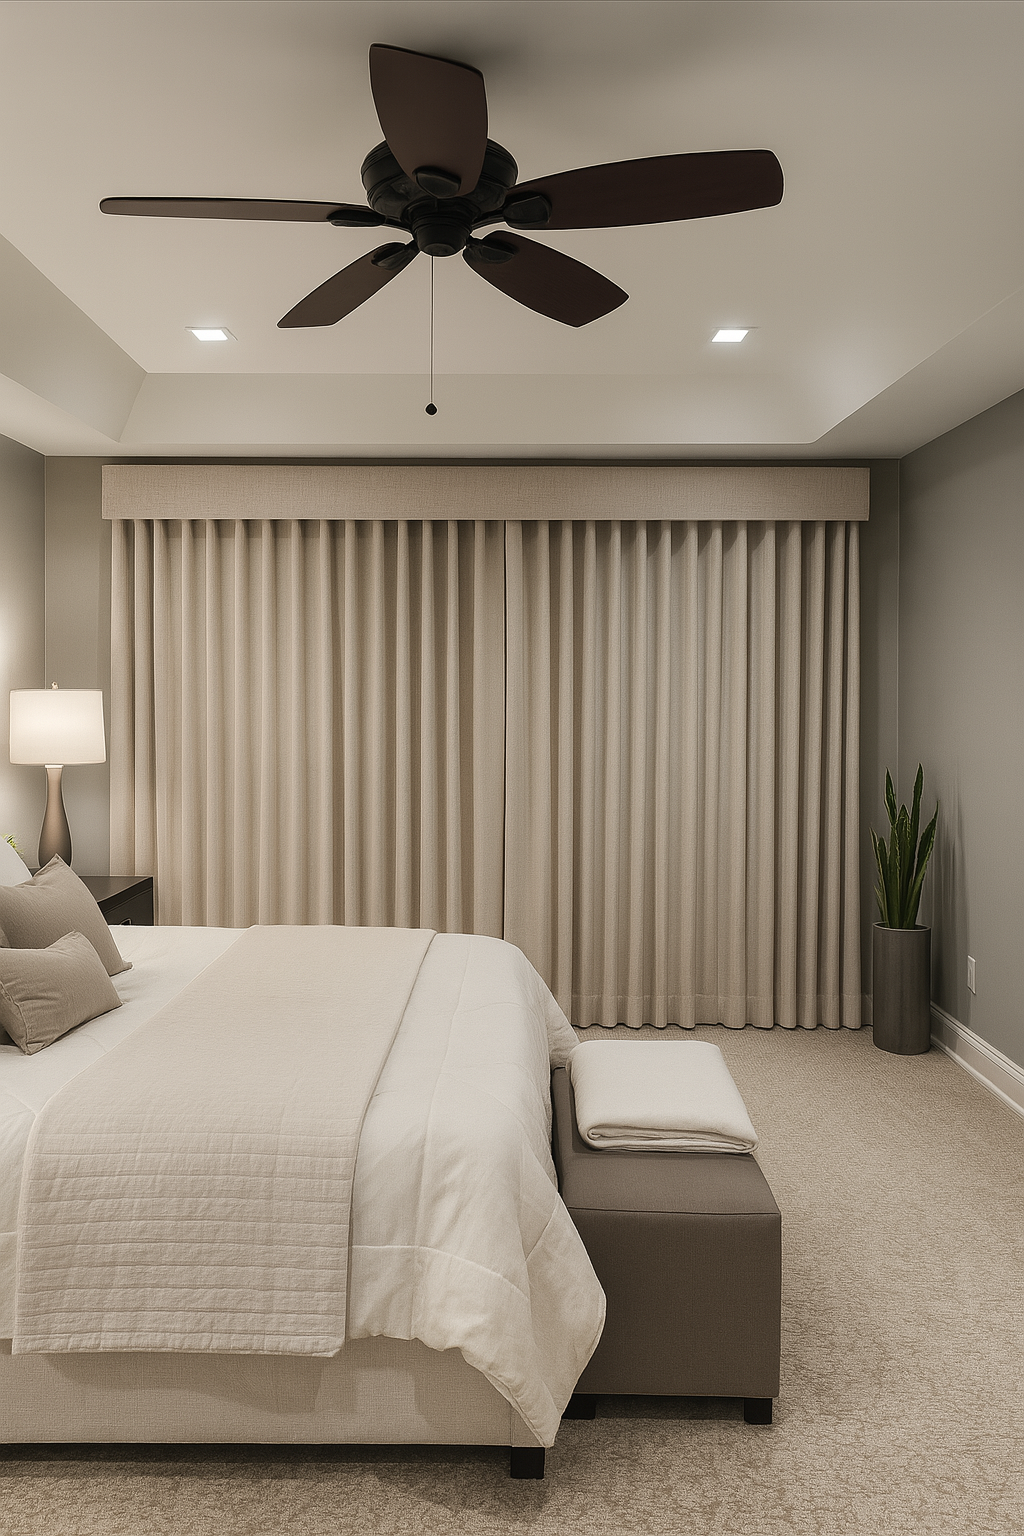
Track location - ceiling pocket
Track placement is one of the most impactful decisions in a blackout installation, and a ceiling pocket is the gold standard. When the track is recessed into the ceiling, the drapery emerges from within the plane of the ceiling itself — eliminating the gap between the top of the panel and the ceiling that is the most common source of light leak in installed drapery.
For effective blackout, a ceiling pocket should be a minimum of 6 inches in height. This ensures the top of the panel is fully concealed inside the pocket and that any residual light from the top of the window does not travel past the panel.
If a ceiling pocket is not possible during construction, it cannot be added retroactively — this is a detail that must be coordinated with the architect and general contractor before framing and drywall.
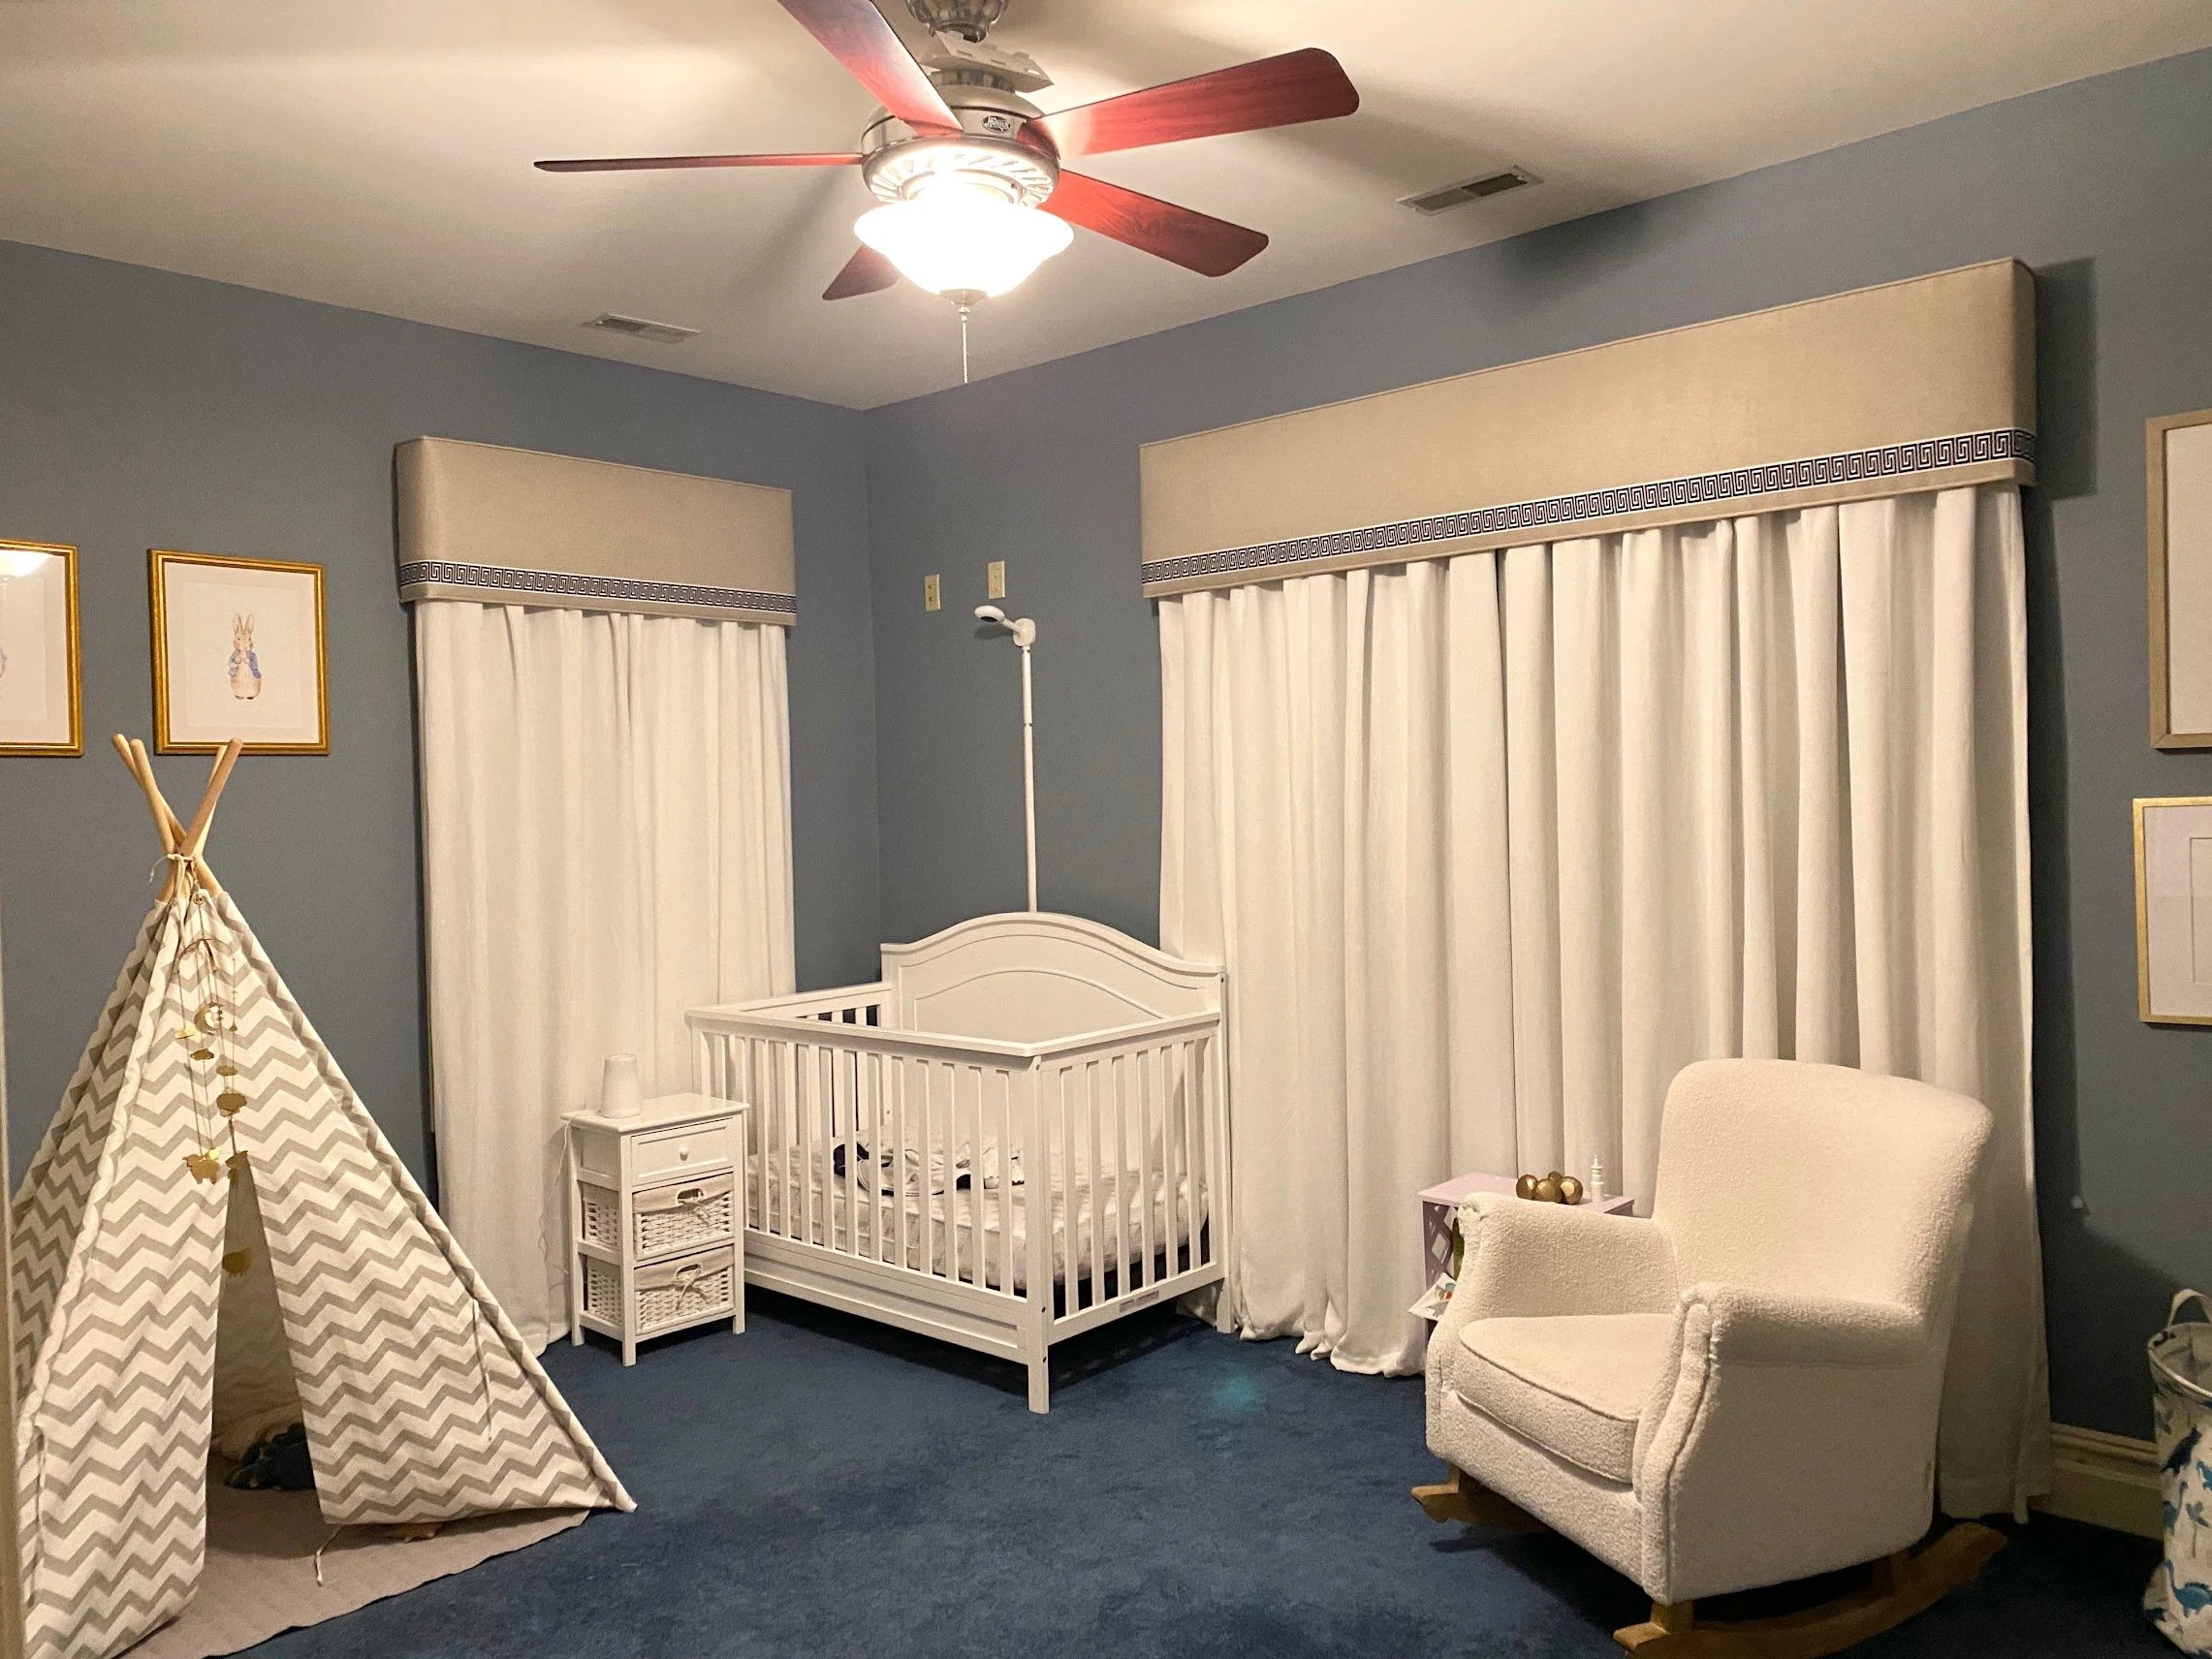
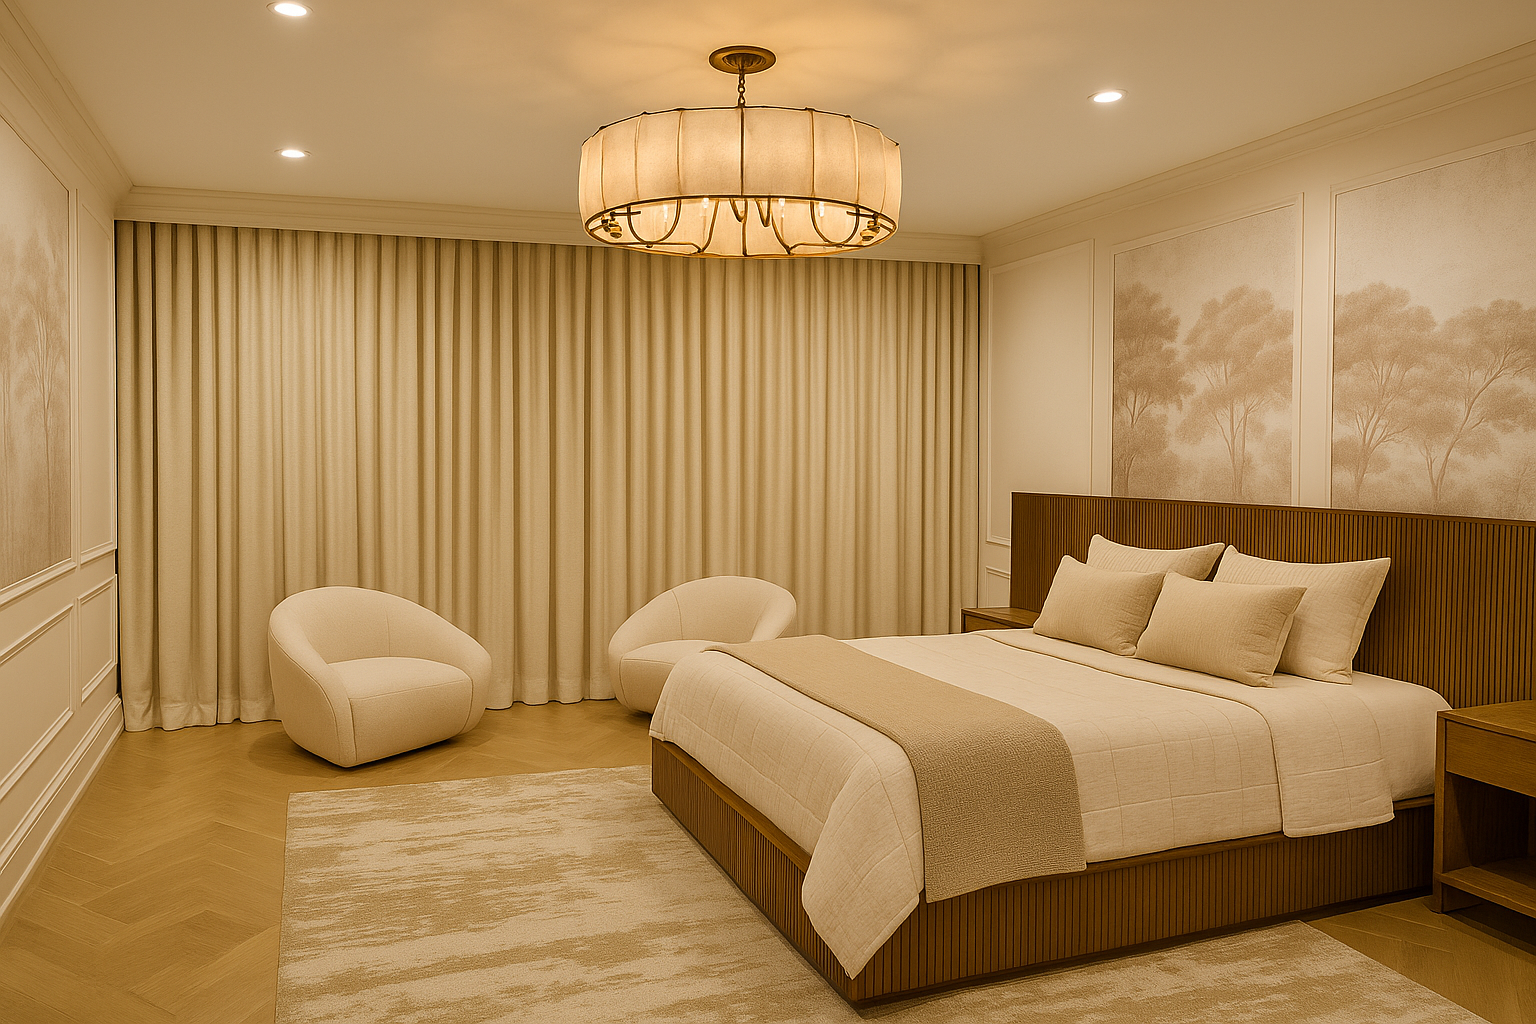
Cornice - an alternative to a pocket
When a ceiling pocket is not part of the architectural design — in a retrofit, a renovation, or a project where the ceiling cannot be modified — a cornice board is the most effective substitute. A cornice mounts above the track and projects forward of the drapery, blocking the view of the track hardware and, critically, sealing the gap at the top of the panel.
For blackout purposes, cornice height matters significantly:
A cornice of 6 inches in height provides a baseline level of top-of-panel light control and is the minimum we recommend for any blackout application.
A cornice of 12 to 16 inches in height provides a much more substantial light block and is what we recommend for home theaters, nurseries, and any space where true darkness is the goal. The additional height blocks the angle of light that enters above the panel even when the sun is low or the exterior light source is close to the window. It also allows the drapery to stack back more fully without the stack being visible above the cornice line.
A cornice can be upholstered in the same fabric as the drapery for a fully integrated look, or wrapped in a contrasting fabric or painted finish. For motorized applications, the cornice is also an opportunity to conceal the track hardware completely — no exposed track, no visible motor head.
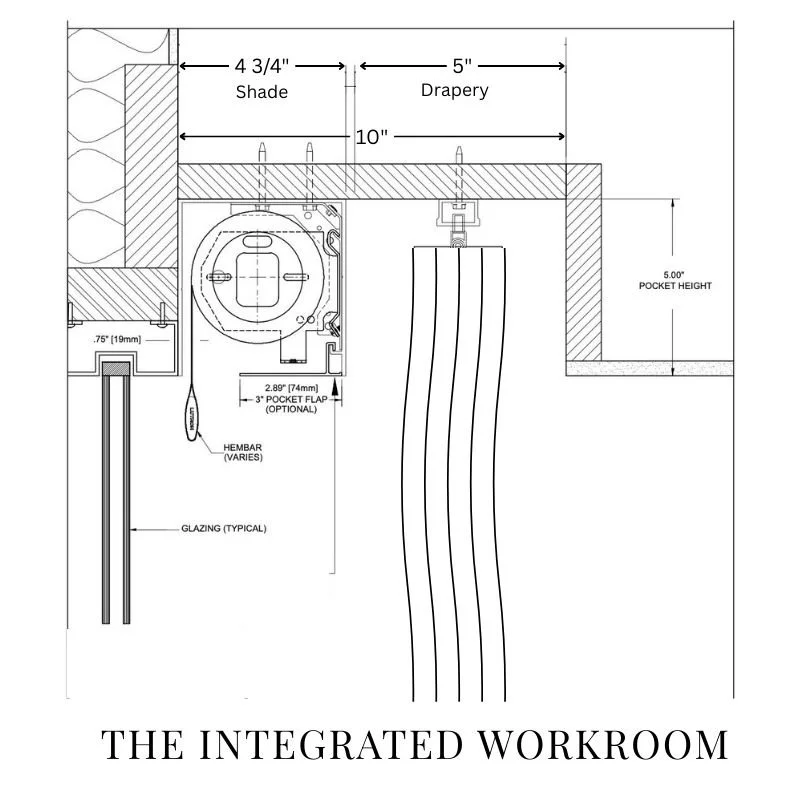
Combining blackout drapes with roller shades
For the highest level of blackout performance, the most effective approach is to layer blackout drapery with a blackout roller shade mounted directly behind it, between the drapery and the glass. Each layer addresses different light paths, and together they work as a system that is significantly more effective than either element alone. This layered approach is standard practice for home theaters, hospitality projects, and any residential application where a client truly cannot tolerate light intrusion — shift workers, infants' rooms, or clients who are particularly light-sensitive sleepers.
Layering: what each component does
The blackout roller shade is the primary light blocker. Mounted close to the glass — ideally inside the window frame or within a few inches of it — it covers the glazed area directly and eliminates most of the light transmission through the window itself.
The blackout drapery then addresses what the shade cannot: the perimeter gaps around the shade, the top gap above the shade, and the sides where light travels around the roller and fabric edges. The drapery's returns, cornice or ceiling pocket, and leading-edge overlap work together to seal the room from the outside in.
Adding side channels to the shade:
A standard blackout roller shade — even one made from a certified blackout fabric — leaves a gap on each side between the edge of the fabric and the window frame. In a bright room or with strong direct sunlight, these side gaps produce two visible columns of light along the edges of the shade, which are distracting and undermine the blackout effect considerably.
The solution is side channels, also called side guides or channel systems. These are slim aluminum or PVC tracks that are mounted to the window frame or wall on each side of the shade. The edges of the shade fabric run inside the channels as the shade travels up and down, maintaining continuous contact with the track and sealing the sides of the shade completely.