Part 1: Lighting Design Fundamentals
LIGHTING DESIGN FUNDAMENTALS
Good lighting starts before the ceiling plan.
A beautiful fixture is only one part of a successful lighting scheme. Where light falls, how low it dims and how the client adjusts it all shape the finished room. Those decisions are easier to resolve when lighting and controls are designed together.
For interior designers and architects, early coordination protects the design intent: a clear ceiling plan, comfortable light on materials and a simple way to move from everyday tasks to an evening atmosphere.
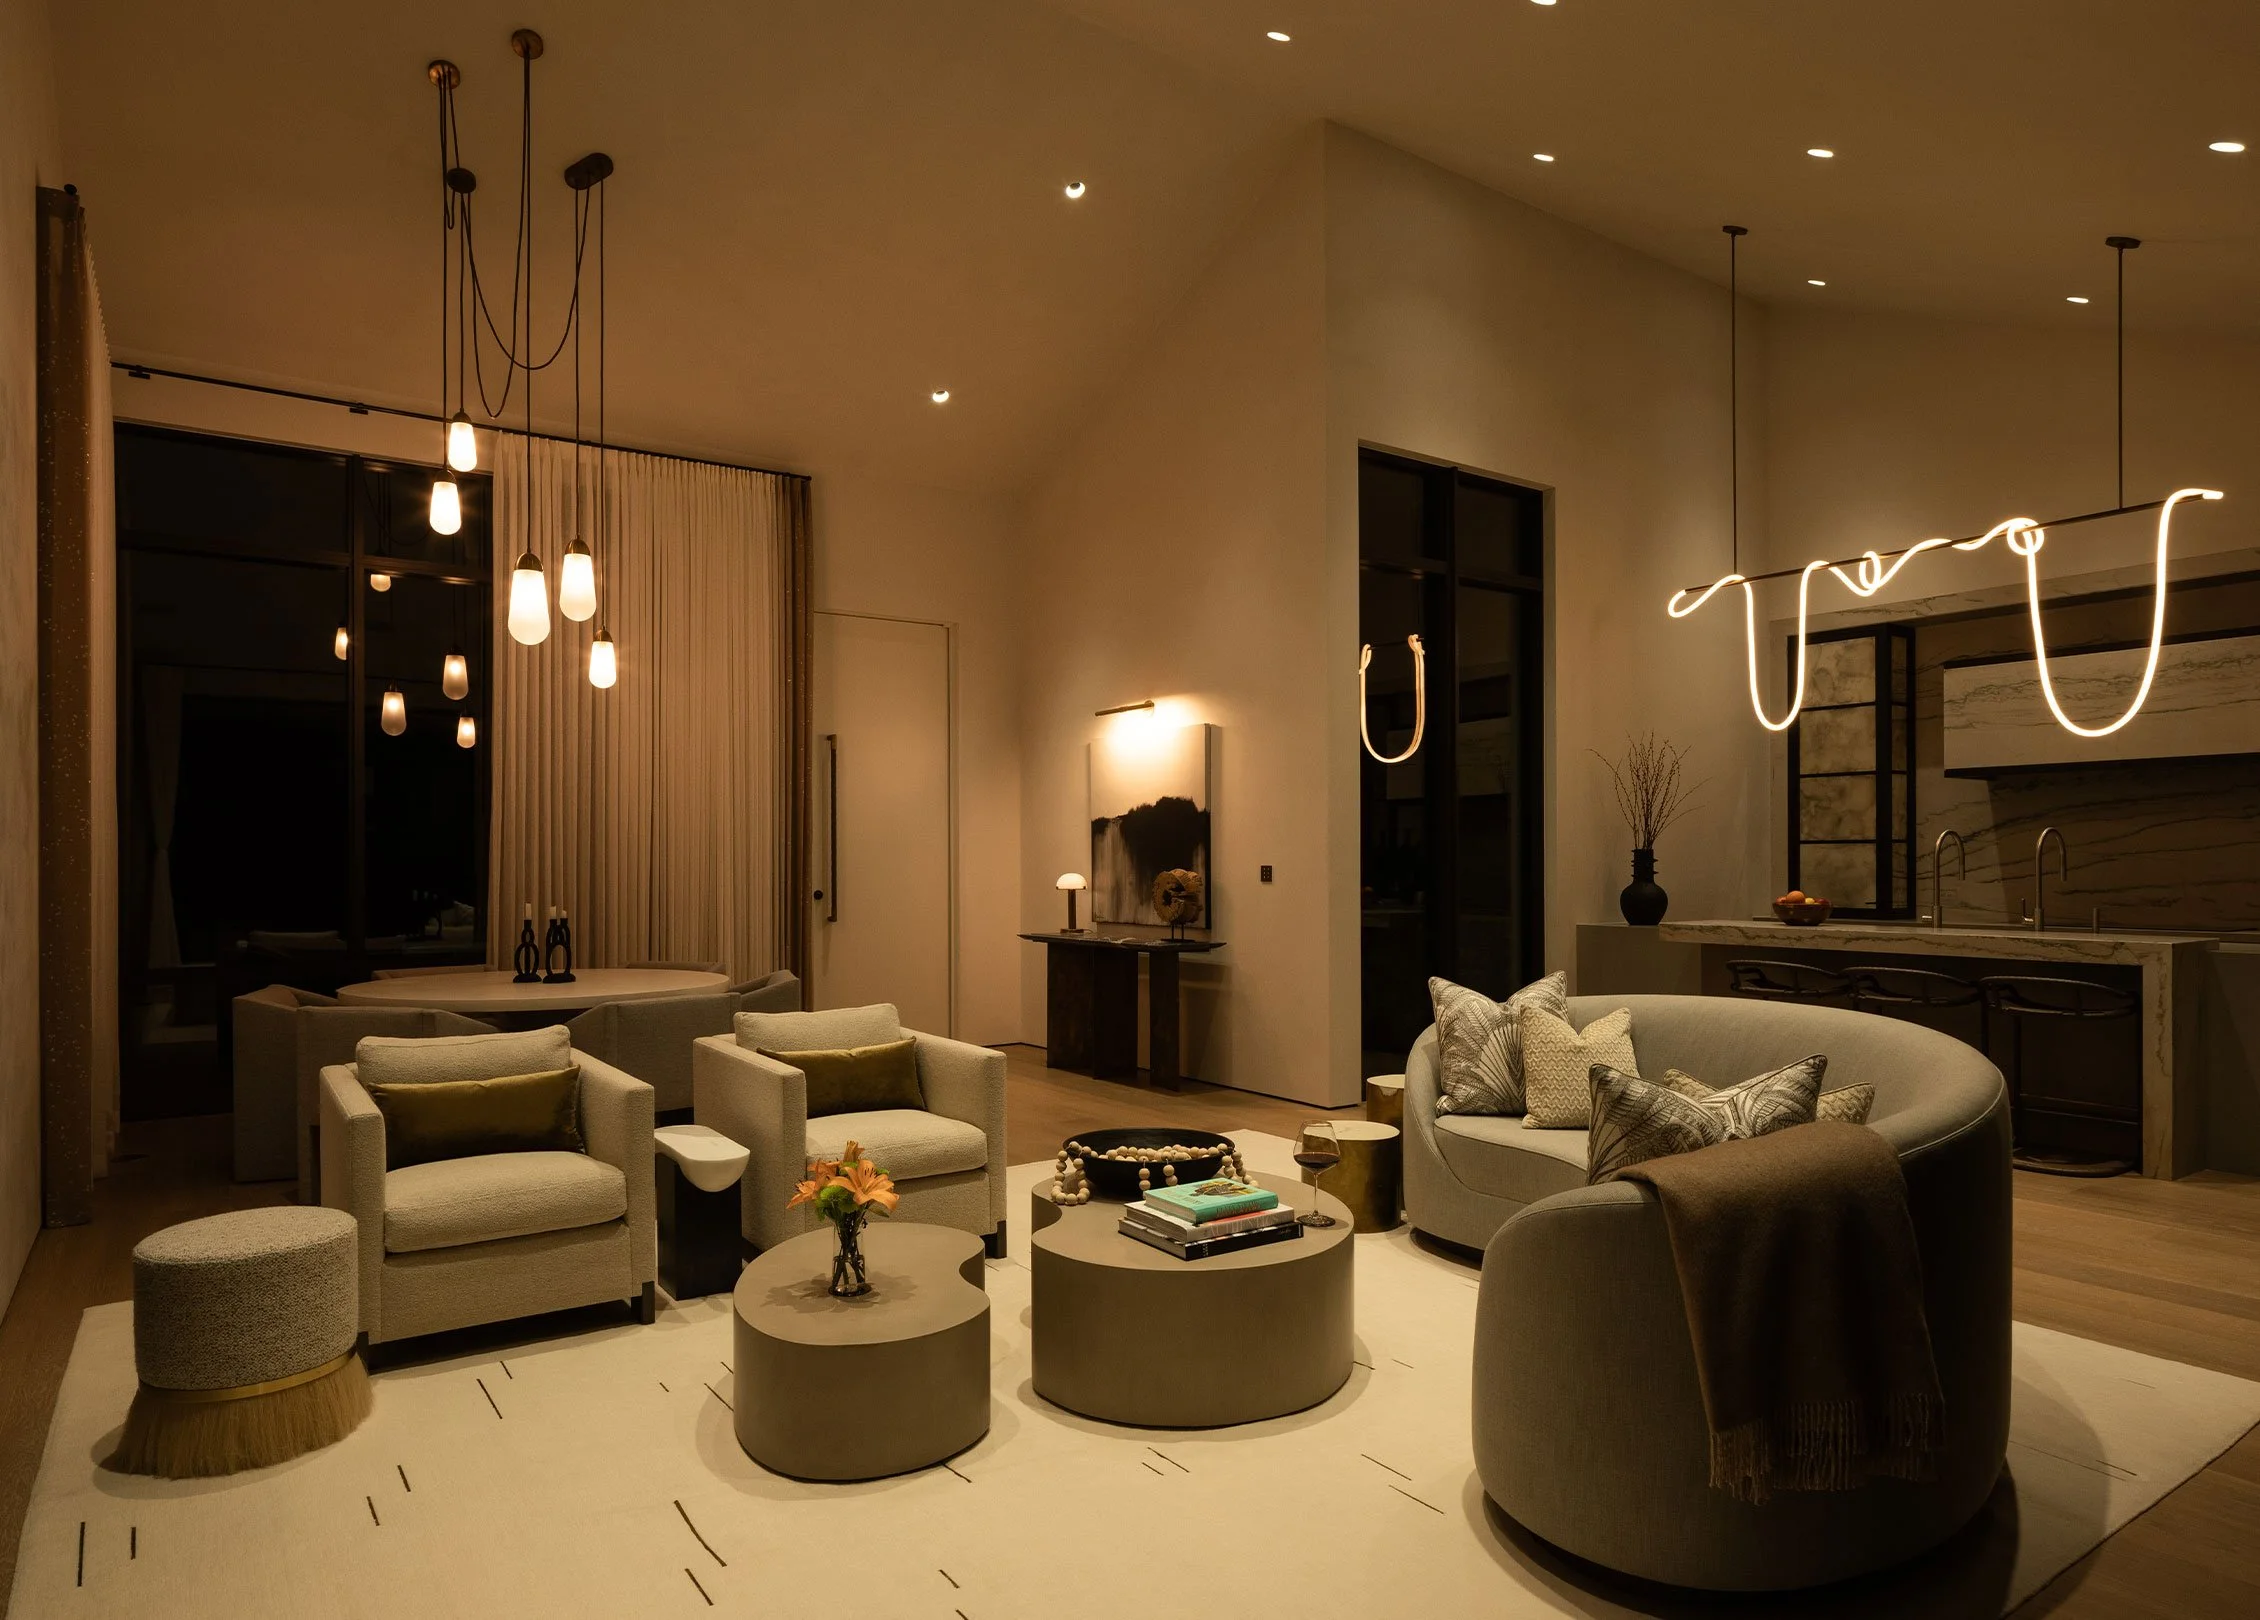
-
Begin with the furniture plan and the activities it supports: preparing food, reading, entertaining or moving through the house at night. Identify the surfaces, artwork and architectural features that deserve light before arranging fixtures on a ceiling grid.
Give ambient, task, accent and decorative lighting their own roles. Separate control lets a pendant provide a soft visual presence while task lighting does the work. In an open plan, coordinate the views between rooms so one bright area does not overpower the next.
-
“Dimmable” is a starting point, not a complete specification. The LED source, its driver and the control method must be compatible. Confirm the exact combination, the expected dimming range and any minimum or maximum load requirements before ordering.
For critical rooms, evaluate a sample at full output and at the lowest useful setting. Look for flicker, sudden steps, delayed turn-on and audible noise. A successful evening scene depends on reliable low-level performance as much as the fixture itself.
Use manufacturer documentation and tested combinations, including Lutron’s LED Compatibility Tool, and have the project team verify the final specification.
-
Name the moments the client wants to create: Prepare, Dine, Entertain or Evening. Then decide which lighting layers need independent adjustment to support them. A scene cannot create a balance that the circuiting and fixture layout do not allow.
For example, a dining scene might soften the pendant, retain light on artwork and reduce nearby kitchen lighting. Set final levels in the completed room, with furnishings in place. For the broader integration approach, read Scenes, Not Switches.
-
Review window orientation, glare, privacy and the changing daylight in each room. Shades can filter incoming light; drapery can add softness, privacy and light control, depending on the fabric and lining. Select them alongside the electric lighting rather than after it.
Where motorization is planned, coordinate power, pockets, track clearances and access before construction details are fixed. Decide which windows should move together and which need independent control. Include shade and drapery positions in the scene brief so the room feels considered by day as well as after dark.
-
Review fabric, paint, wood and stone samples under the proposed light sources. Color temperature describes the appearance of the light; it does not tell the whole story of how a finish will look. Compare samples at daytime and evening levels, especially where different sources illuminate the same surface.
If warm dimming or tunable white is part of the brief, specify that behavior explicitly and coordinate the controls it requires. Agree on the intended look before fixture substitutions are approved. Small differences that seem minor on a schedule can become obvious across a finished room.
-
Reserve time after installation to aim adjustable fixtures, set dimming limits and tune scenes in the furnished room. Review the result after dark as well as during the day. Walk the routes a client will use, from arriving home to reading in bed, and check that the controls make sense at each point.
Keep button names clear, demonstrate everyday adjustments and document the agreed settings. The goal is a room that feels right and is easy to live in, with lighting, window treatments and controls supporting the same design intent.
-
Give the architect, designer, electrician and controls team one coordinated set of decisions:
Fixture locations, aiming intent and the surfaces to be illuminated.
Exact fixture and driver specifications, control method and dimming requirements.
Lighting zones and the scenes they need to support.
Keypad locations, finishes and a preliminary engraving schedule.
Shade and drapery groups, motor power, pockets and access requirements.
Locations and service access for drivers, panels and other control equipment.
Review these items before walls and ceilings close. Confirm responsibilities for supplying, installing, programming and commissioning each part of the system.
Bring lighting into the conversation early.
The Integrated Workroom designs lighting, makes custom drapery and shades, and programs Lutron controls. Share your plans with us while fixture selections, ceiling details and window treatments are still taking shape, so the finished room works as one system.
Bring us your next project, or book our accredited CEDIA CEU class for your firm.